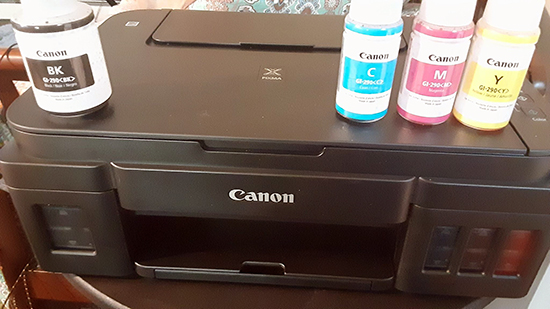
On Canon Gxxxx-series printers, the simplest issue can activate the dreaded 5B00 and 5B01 errors. In my own case, it was because I’d inadvertantly left the tape on the print heads underneath the B and C cartridges on a brand new G3202 … The error will be indicated by alternating Power and Alarm indicators flashing seven times. The manuals and online support will tell you to “call for service.” This isn’t necessary. Fixing it takes a bit of work, as well as approximately $10 USD. But it does work. These are my notes on how I resolved this on my G3202 with a Mac Powerbook running Catalina:
- Ensure the printer is connected to the computer with a USB cable specifically for printers. The printer doesn’t ship with one, you’ll have to buy or borrow this.
- Place the printer into Service Mode:
- Turn the printer OFF.
- First, hold down the Stop button
- While holding down the Stop button, hold down the Power button.
- While still holding down the Power button, push the Stop button five times.
- Release the Power button.
- The printer will now be in Service Mode.
- Go to:
https://www.wic.support/canon-g1000-g2000-g3000-waste-ink-counters-reset-5b00-error-fix/ - Toward the bottom of the page, download the latest version of WIC for your OS. (Earlier versions do not support later Canon series of printers).
- Open WIC.
- On the Mac this will be blocked by the Security & Privacy aspects of the OS. Click the Cancel button.
- Open the Apple menu and go to System Preferences | Security & Privacy | General.
- Click the Lock icon.
- Enter the Admin user and password.
- A notice will appear that wicreset has been blocked.
- Click “Open Anyway.”
- Within WIC, go to the Buy Keys menu to purchase a WIC Reset Key.
- Ensure the printer is shown at the top of the left pane.
- Follow the instructions within WIC to clear the waste ink counters.
- When the process is complete, disconnect the USB cable from the computer and cycle power on the printer.
Performing a Full Head Cleaning (no computer required)
Printing the Cleaning Test Pattern:
- Load 8″ x 11″ paper.
- Hold down the Stop button.
- As soon as the amber LED flashes once, release the Stop button.
- The test pattern will be printed.
Full Head Cleaning:
- Hold down the Stop button.
- Wait for the amber LED to blink 5 times.
- Release the Stop button.
- The printer will go through the cleaning process, which may take up to 10 minutes.
- Print another test pattern.
I tried all methods. Did not work . Code 5b00 not going away
Any suggestions?